Striking a pose at Taj Mahal.
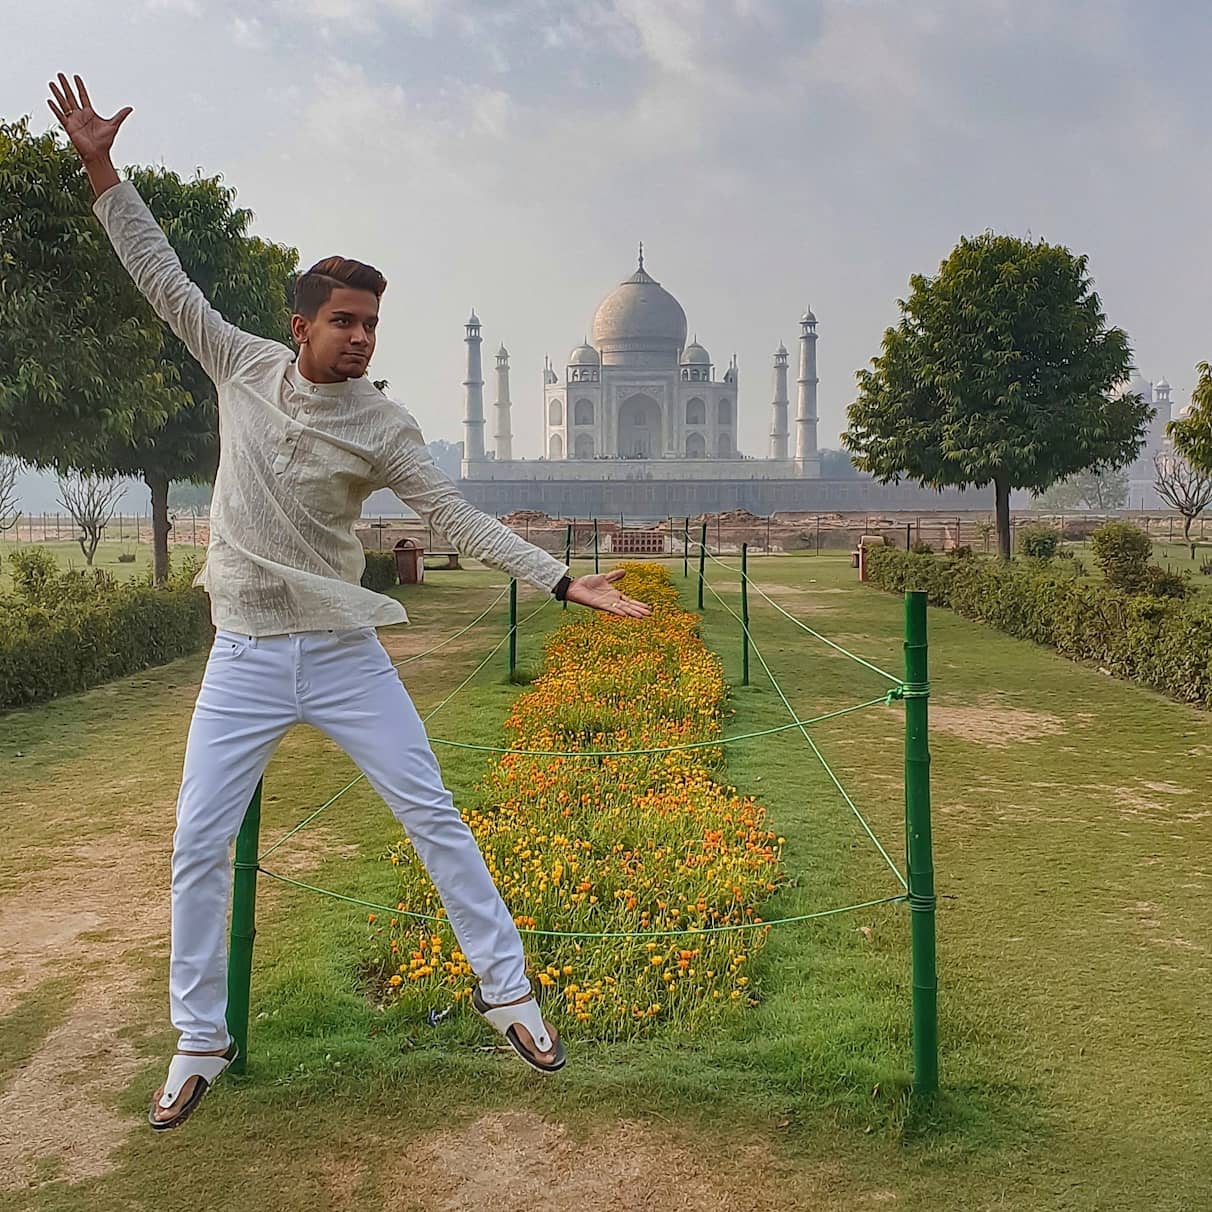

I came to this spot to avoid the crowd in the morning and you can see the back view of Taj Mahal. You will regret if no pictures are snapped here. The sunrise was amazing but the limitation of my mobile phone camera needed some post editing to display the beauty of the place.
Almost all my pictures are taken using mobile phones. Here, I have posted the same picture with different edits. Firstly, improve your photo clarity using the Adobe Lightroom app before editing the color and contrast. This simple step is accomplished by reducing the noise and dehazing the photo. These functions are available for free in Lightroom app.
Next, share it to Instagram and adjust your photo by checking the angles. Crop or zoom based on the subject and the view. When you want your subject to be in the center, you may need to realign (zoom in-out/crop) the photo bringing the subject to the centre point. When your subject is overlooking the backview or a scenic panaroma, do follow the 3x3 rule of thumb. This means simply dividing your photo into 3 sections both horizontally and vertically and placing the subject in the outermost line in either of of the sides. You don't have to worry about the lines as Instagram edit shows you these important lines as you tap on the picture while editing.The picture below is further edited by using Instagram edits only, with a 30% of Aden preset, one of my favourites. Instagram gives you a range of free presets however you can purchase others via online like the copper preset, which is nice for travel photos. Honestly, I do not use preset for most of my pictures to retain the original colours of the places I have visited.
Once you have aligned and selected your preset (if any), adjust the saturation, contrast and brightness before posting the picture. If the photo looks dull, increase the saturation gradually, and always keep in mind the original scenario. Some cameras may not capture the actual colors of the scene. Contrast can be reduced if the original picture is too vivid looking or you want to smoothen the clarity of the picture especially when there is a human subject. If it is an architectural photo, like buildings and towers, you may want to increase the structure and contrast to display the details of the photo. Brightness is edited based on individual preferences. If you opt to post all your IG pictures with a darker theme or if the original picture is overexposed, then you will need to reduce the brightness. And vice versa if the original picture is underexposed. Once you are done with these major steps, you are finally ready to post the photo. Don't forget to tag the relative accounts to your photo and caption appropriate hashtags to promote your Instagram feed.
There are many free editing apps like Lightroom, Snapseed, Photoshop Express and these apps produce amazing pictures if you use a professional camera like DSLR or a mobile phone with a good sensor. My tips here are just for simple Instagrammers like me. Hope this helped a little to beautify your feed.
"Before you run out of time"
Powell Roy Louis
Instagram: theroytravels


